SMT100 with LoRaWAN (TheThingsNetwork) and Dragino
After I have already carried out the first tests with LoRa and soil moisture sensors some time ago, a larger project is on the agenda for this year's gardening season.
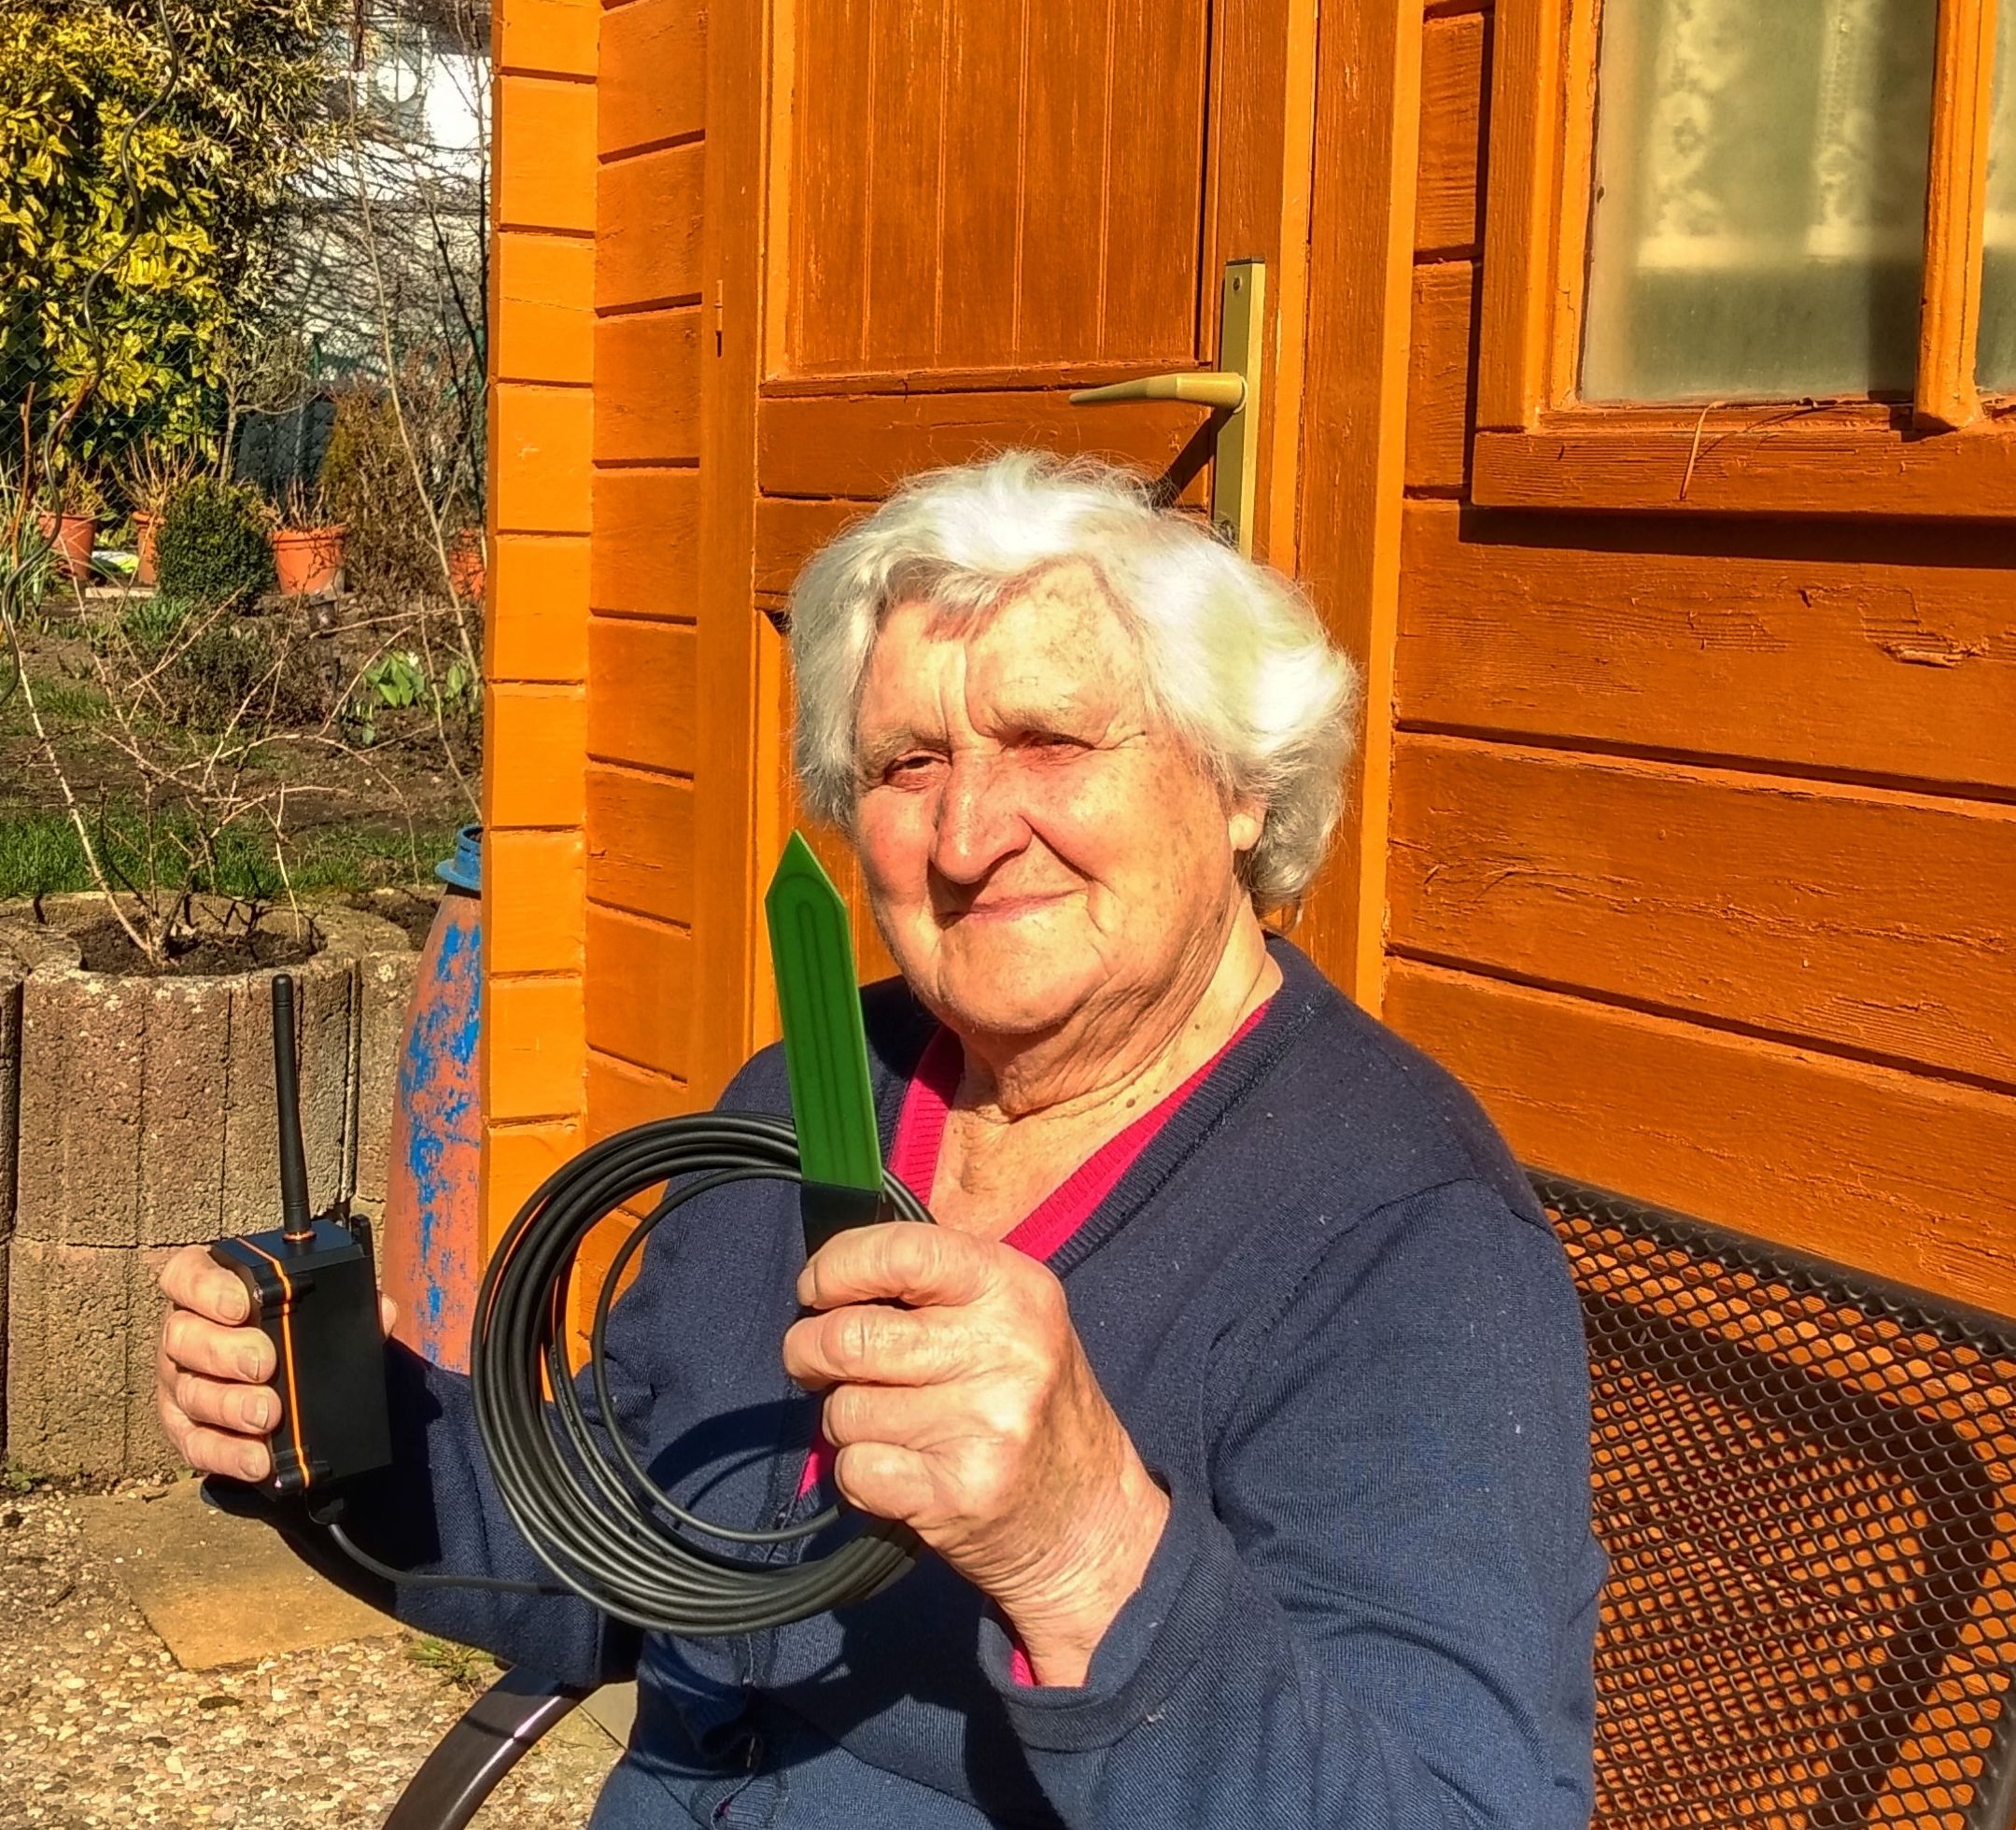
Over the winter, I have been intensively occupied with LoRaWAN and also canvassed the relevant providers. At Dragino I found a very cheap LoRa module, which has a RS-485 interface. The advantage is that you can easily connect a SMT100 soil moisture sensor with Modbus (RS-485). The LoRa module also takes care of the power supply of the SMT100. The Litihium battery is even already supplied by Dragino. It's almost a plug-and-play system except for some minor software configuration work. What do you need to get started:
- Dragino RS-485BL LoRaWAN RS-485/UART converter
- SMT100 RS-485 soil moisture sensor from TRUEBNER (Modbus version)
- USB to TTL cable (3.3V) for software configuration
and of course a LoRaWAN gateway nearby. For me it is a TheThingsNetwork gateway, but other LoRaWAN systems should also work. The LoRa module must be registered with the LoRaWAN operator. For TheThingsNetwork, Dragino provides instructions in the LoRa module manual. TheThingsnetwork gateway near me still uses version 2 of TheThingsnetwork. In the course of the year 2021 it should be changed to version 3. Then the settings will change a bit. But now we stay with version 2 for the time being.
In the box of the LoRa module there is a sticker with all possible keys, EUIs, addresses and the serial number.
- DEV ADDR
- DEV EUI
- APP EUI
- APP KEY
- APPSKEY
- NETSKEY
After logging into TheThingsNetwork Console a new application is created. The APP EUI from the sticker is added via addEUI. Then a new device is created. It is very important to enter the DEV EUI, the APP EUI and the APP KEY from the sticker. Voilá, that's it for now with TheThingsNetwork and we go to the LoRa module. (Note: With other keys and EUIs you can certainly also work, but then have greater configuration effort on the module side).
The next step is to connect the SMT100 RS-485 soil moisture sensor with the LoRa module as follows (left green socket for screwing, attention: look up exact assignment in the Dragino manual!):
- Brown wire +5 V
- White wire GND
- Green wire RS-485 A
- Yellow wire RS-485 B
Then connect the USB to TTL cable for configuration (right socket for pin headers, attention: look up exact assignment in Dragino manual!):
- GND
- UART_TXD
- UART_RXD
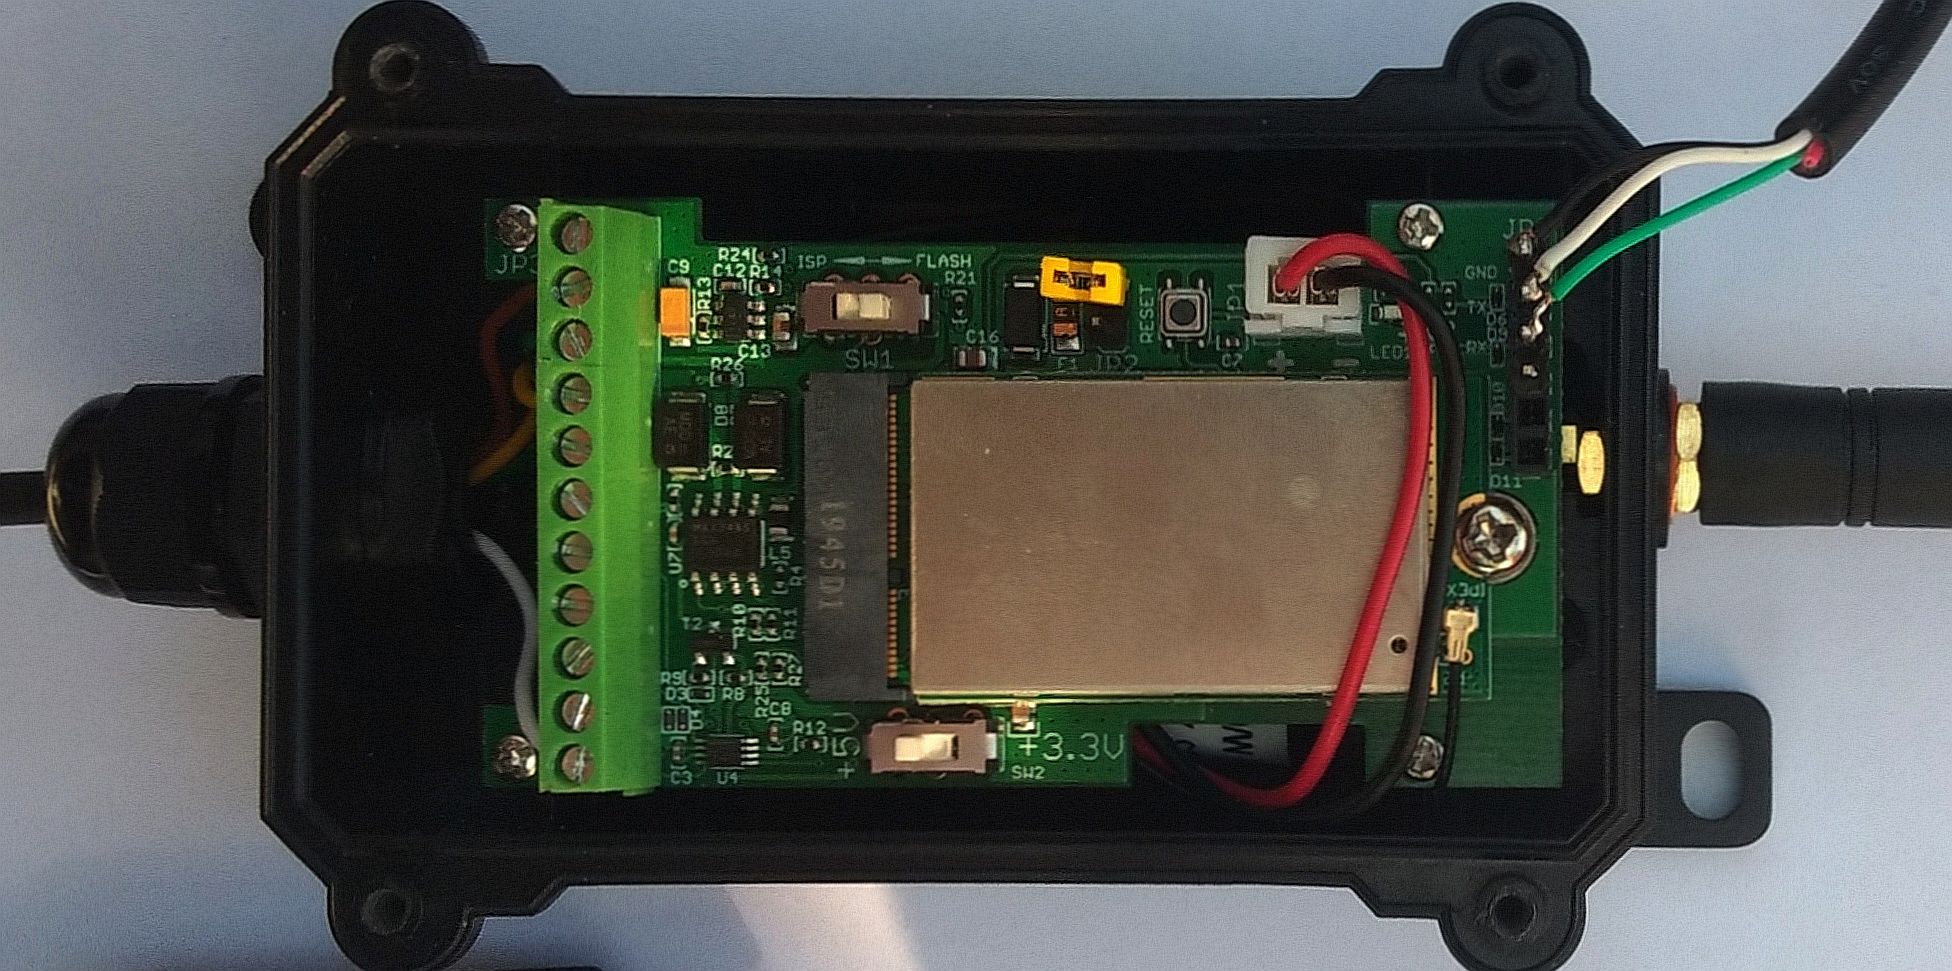
Please make sure that the USB TTL cable has 3.3 V level (TX from LoRa module to RX from cable, RX from LoRa module to TX from cable, if necessary check exactly how the cables are assigned and the connections are defined). I used a cheap cable from Ebay (about 4 Euro) and made sure that a FT232 USB chip is used. This usually does not give driver problems. I prefer to use HTerm as terminal program. The switches on the LoRa module must be set to 5V and Flash. The jumper for the supply of the module with the battery voltage must of course also be plugged. in HTerm you see the start of the module after plugging the power supply jumper.
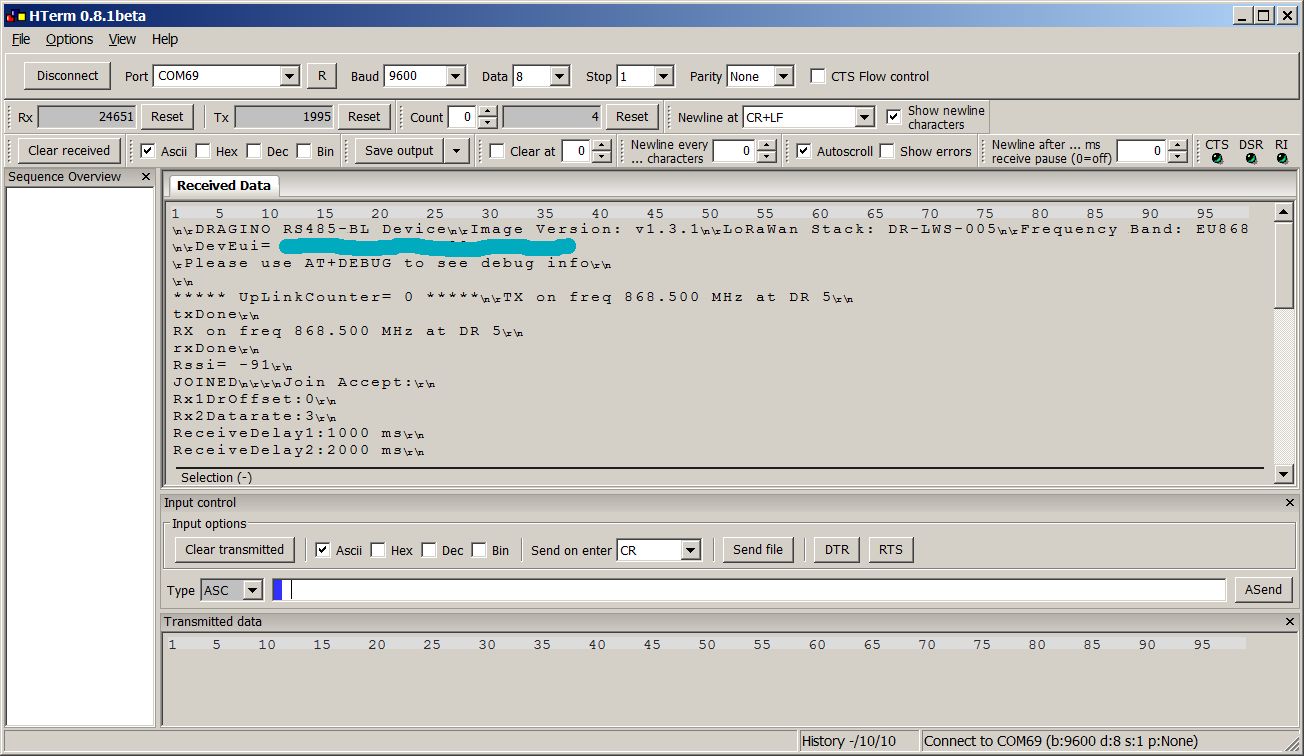
Now you can configure the SMT100 by entering the password in HTerm (123456) and then send AT commands (Attention: Always capitalize commands and don't forget the CR at Send on Enter).
- AT+BAUDR=9600 (9600 baud)
- AT+PARITY=2 (even parity)
- AT+5VT=100 (wait 100ms after turning on the 5 V supply for the sensor)
- AT+MBFUN=1 (enable Modbus)
- AT+COMMAND1=fd 03 00 00 00 01,1 (Temperature)
- AT+COMMAND2=fd 03 00 01 00 01,1 (Soil moisture)
- AT+DATACUT1=0,0,0
- AT+DATACUT2=0,0,0
- AT+TDC=60000 (Transmission interval, 60 s = 60000 ms)
You may check settings with:
- AT+BAUDR=?
- AT+PARITY=?
- AT+5VT=?
- AT+MBFUN=?
- AT+COMMAND1=?
- AT+COMMAND2=?
- AT+DATACUT1=?
- AT+DATACUT2=?
- AT+TDC=?
The communication between the LoRa module and the connected SMT100 can be tested using AT+CFGDEV. Here is an example:
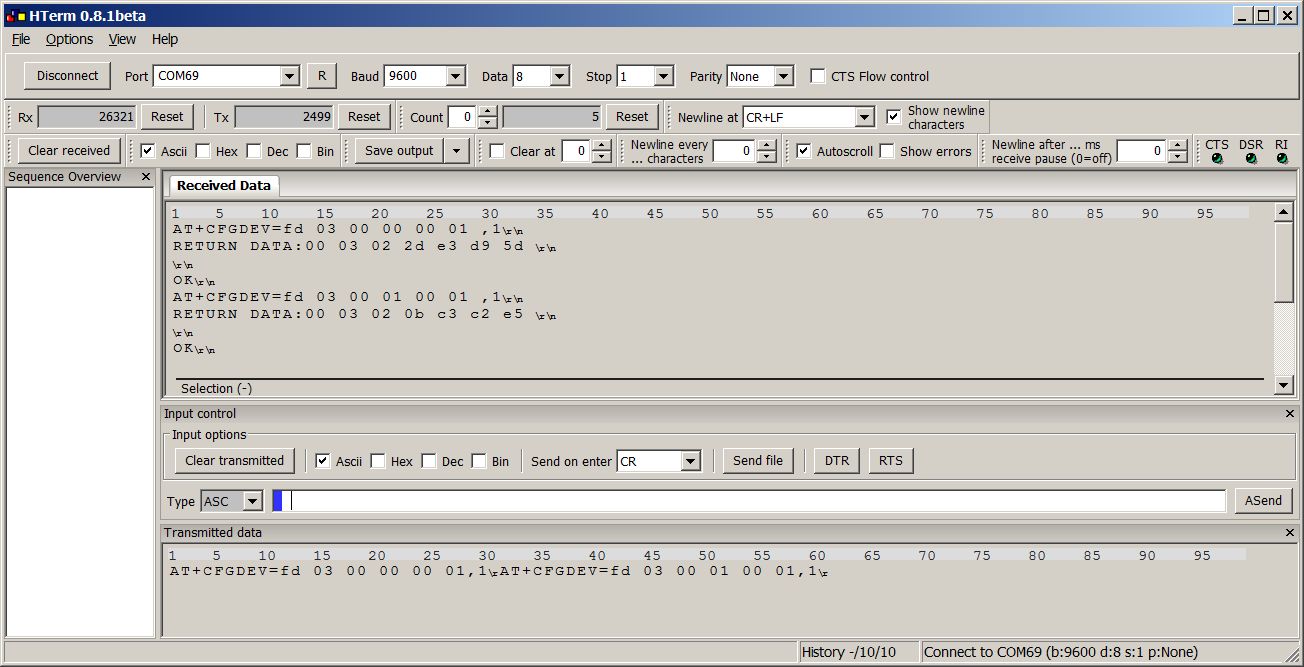
For explanation you should have the application note for Modbus from TRUEBNER ready.
The byte sequence fd 03 00 00 00 01 sends a Modbus broadcast to the one connected sensor and expects the temperature. The temperature is stored in the response in the 4th and 5th byte as a 16 bit number. If 2d e3 is converted to a decimal value, 11747 is obtained. If 11747 is divided by 100 and 100 is subtracted, 17.47°C is obtained. The byte sequence fd 03 00 01 00 01 sends a Modbus broadcast to the one connected sensor and expects the soil moisture. The soil moisture is stored in the response in the 4th and 5th byte as a 16 bit number. If 0b c3 is converted to a decimal value, 3011 is obtained. If 3011 is divided by 100, 30.11% is obtained as volumetric water content.
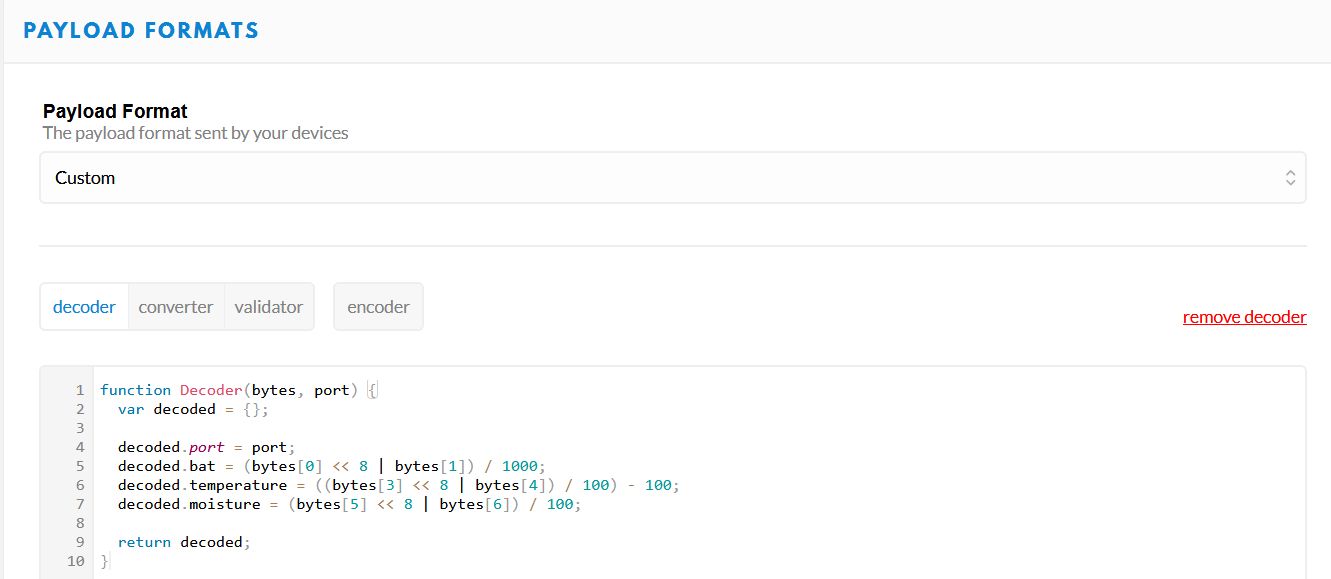
After the successful test the USB cable can be removed and the LoRa module is ready for operation. Now you can go back to TheThingsboard and watch the LoRa communication, but before that you should set a TTN decoder, so that the transmitted byte sequences are interpreted correctly. The decoder used here looks like this and extracts battery voltage, temperature and soil moisture from the data. (Note: The LoRa module transmits the battery voltage and also a payload version value by default, but we do not consider it here).
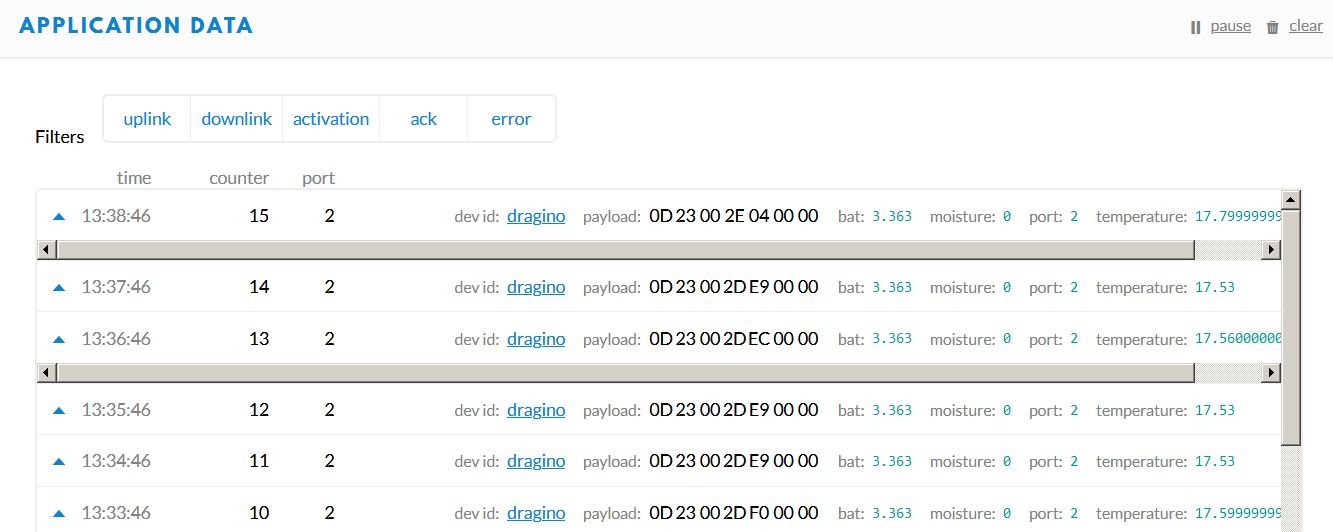
The following screenshot shows the data packets with the individual bytes and the decoding.
What is the next step? There is still a visualization missing, for which there are several possibilities. I use MQTT to fetch the measured values from TheThingsNetwork and then import the data into my Thingsboard system. I will describe that soon. For now I enjoy the spring sun with coffee and a delicious piece of crumble cake.